
How to Photograph the Northern Lights in Norway
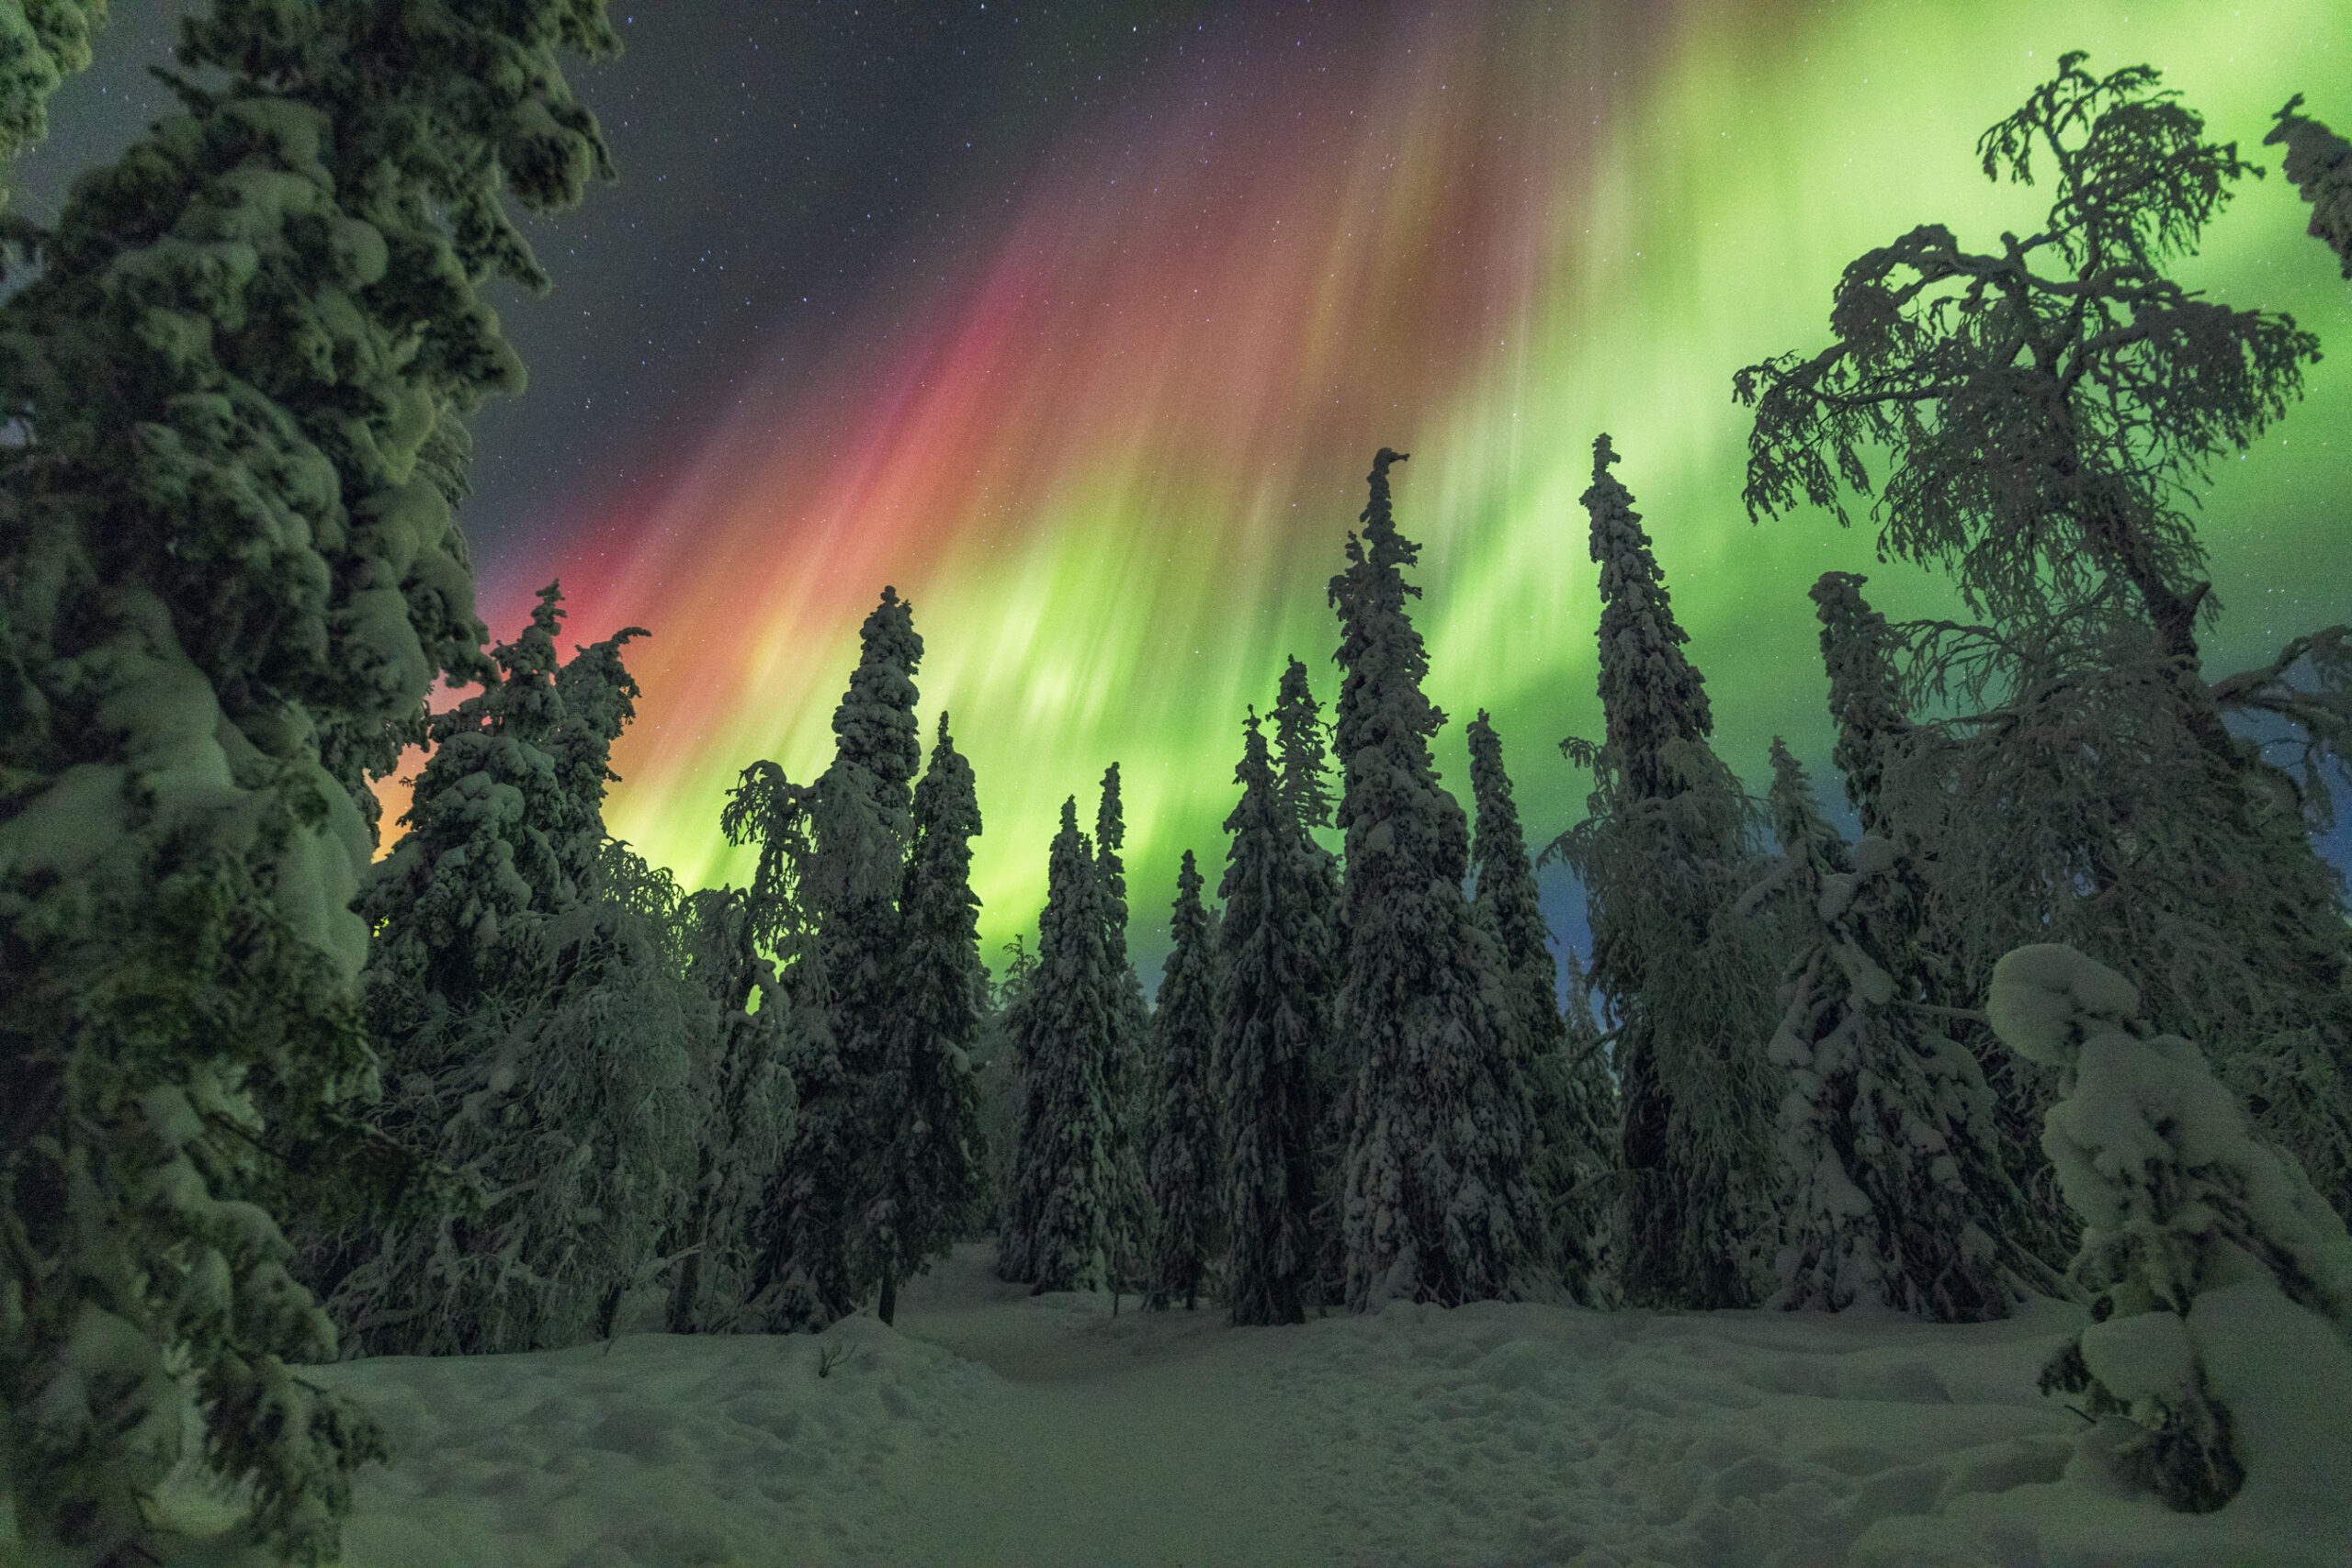
How to photograph the Northern Lights in Norway
Beyond the map · Into the story.
There are two kinds of aurora photos: the one you take to prove you were there, and the one that makes you feel the Arctic cold every time you look at it. This guide is about the second kind.
Norway is, quite possibly, the best stage on the planet for chasing auroras: the auroral oval sits right over the north of the country, a jagged coastline delivers impossible close-up foregrounds, and the infrastructure lets you move fast the moment the sky decides to get interesting. But gear, settings and a cool head are what separate coming home with a blurry memory from coming home with an image that holds up as a five-foot print.
Let’s break it down.
Why now is a good time
Auroras depend on the Sun, and the Sun runs in cycles of about eleven years. We’re in Solar Cycle 25, which peaked toward the end of 2024. That technically means we’ve already entered the declining phase, but activity remains high, and experts expect strong geomagnetic storms through 2026 and even 2027. In other words: the next two seasons still fall within one of the best aurora windows of the last decade.
Now, the dose of honesty: none of this guarantees an aurora. An active solar cycle raises the odds, it doesn’t lock them in. Geomagnetic forecasts are only reliable one to three days out, and on the Norwegian coast the real enemy isn’t the Sun, it’s the clouds. That’s why you go with a margin of nights, not a single shot in the chamber.
When to go
Aurora season in northern Norway runs from late September to late March, when nights are long and dark enough. The heart of the season — the deepest nights, the least residual light — falls between November and February.
Each end of the season has its own charm:
Autumn (Sept–Oct): some color still lingers in the landscape, lakes are still unfrozen for reflections, and temperatures are more forgiving.
Deep winter (Nov–Feb): maximum darkness and the most cinematic setting (snow, frozen fjords), in exchange for real cold and more temperamental weather.
Late season (March): tends to bring stable nights and there’s still snow, with days starting to grow longer.
Moon phase matters too. A full moon lights up the landscape (useful for composing) but reduces contrast on faint auroras. If you’re after faint, well-defined auroras, aim for nights near the new moon.
Where
Anywhere above the Arctic Circle puts you under the auroral oval. The classics:
- Tromsø: the most convenient base. Airport, logistics, and plenty of options to drive away and outrun the clouds.
- Lofoten and Vesterålen Islands: dramatic peaks dropping into the sea. Probably Norway’s most spectacular foregrounds.
- Senja: the less crowded alternative to Lofoten, with scenery to match.
- Alta: further inland, statistically with clearer skies than the coast.
My underlying advice: don’t marry a single spot. Mobility — having a car and being willing to drive thirty minutes toward a clear patch of sky — saves more auroras than anything else.
Gear
You don’t need an arsenal, but you do need the right things.
Camera. Any DSLR or mirrorless with manual mode will do. Modern full-frame bodies (a Canon EOS R5 Mark II, for instance) shine here because they perform beautifully at high ISO, which is exactly what you’ll need.
Lens. Wide and fast. The ideal range is between 14 and 24 mm at f/2.8 or faster. If you can reach f/1.8 or f/1.4, even better: every stop of light you gain is a stop of ISO you save. An RF 15-35mm f/2.8 is an excellent companion for this.
Tripod. Sturdy and stable. With multi-second exposures, a flimsy tripod is the number one cause of soft photos. If it’s windy, hang your backpack from the center column to weigh it down.
Accessories that actually matter:
- Remote shutter release, or failing that, the 2-second self-timer.
- Spare batteries. The cold kills them; carry them in an inside pocket, close to your body.
- Headlamp with a red light, so you don’t ruin your night vision or anyone else’s.
- Microfiber cloths. Condensation and frost on the lens ruin more shots than you’d think.
Camera settings
This is where the photo is won or lost. Starting point, to fine-tune on the night:
- Mode: Manual (M). No automatic modes worth trusting here.
- Format: RAW, always. It’s what lets you recover color and shadows afterward.
- Aperture: as wide open as you have. f/2.8 or wider.
- ISO: start between 1600 and 6400. Faint aurora, push it up; intense aurora, pull it down to avoid blowing it out.
- Shutter speed: this is the setting that’s alive all night.
Static, soft aurora: 8–15 seconds.
Active aurora, those dancing curtains: 1–5 seconds to freeze the structure. Shoot a moving aurora too long and it turns into a shapeless green smear.
Focus: manual, set to infinity. Turn on Live View, point at a bright star or a distant light, zoom in and adjust until it’s a sharp point. Once it’s locked, don’t touch the ring.
White balance: set a manual value between 3500 and 4000 K so you can judge the scene properly on screen. Since you’re shooting RAW, you can fine-tune it later without penalty.
Stabilization: turn it off when you’re on a tripod.
A note on stars: if you want them to render as points rather than short trails, the quick rule is to divide 500 by your focal length (at 15 mm, about 33 seconds). But with active aurora you’ll rarely reach that limit, because the aurora itself calls for shorter exposures.
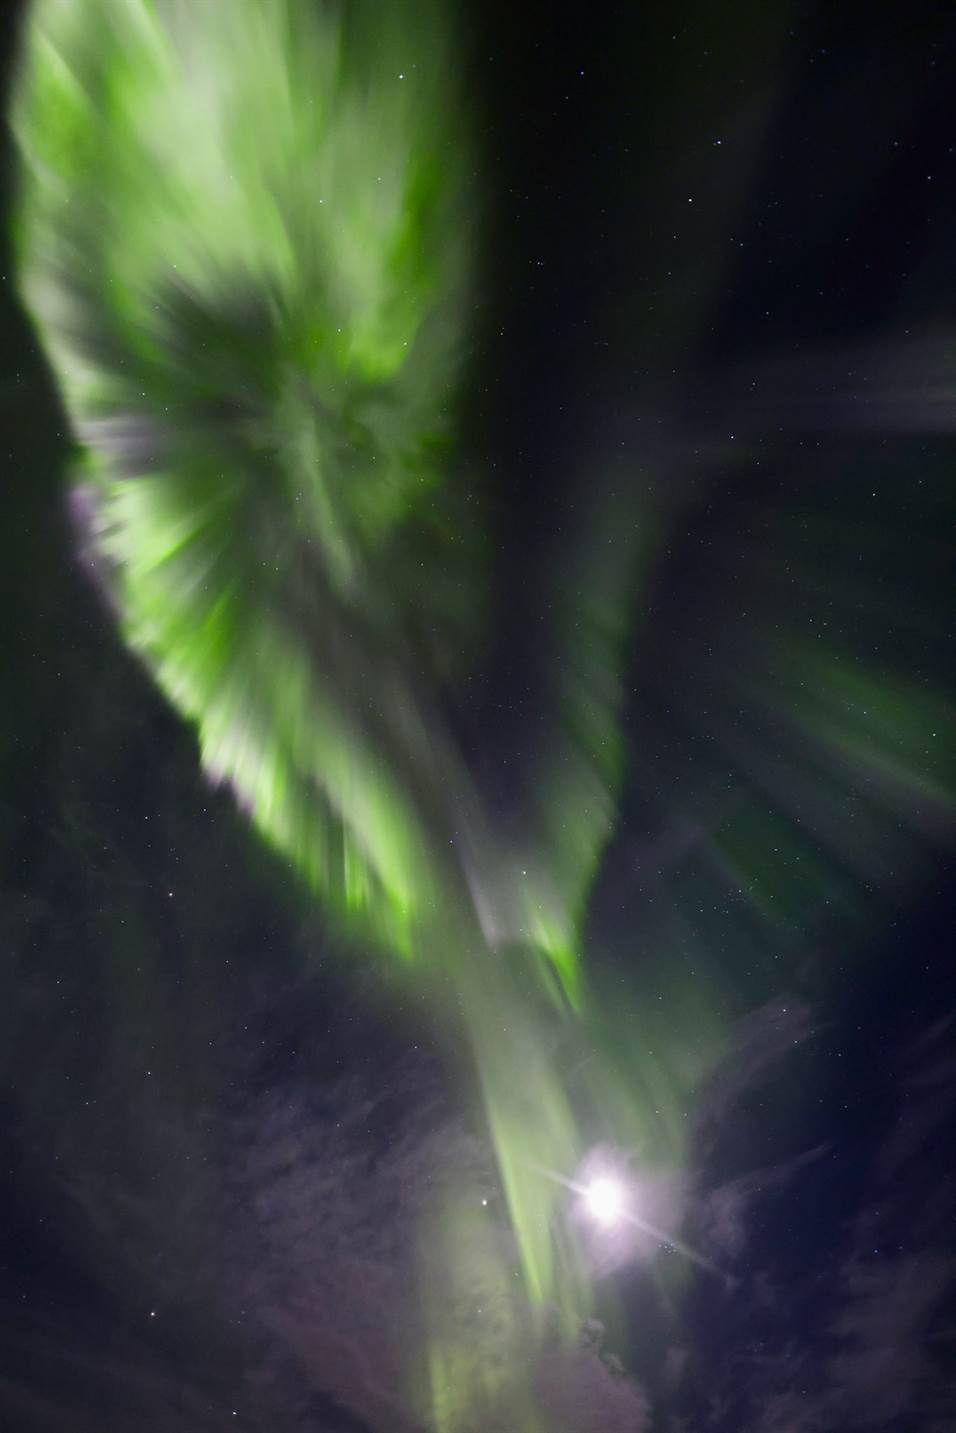
Composition: the aurora isn’t the photo
The most common mistake is pointing at the sky and shooting. Green over black gets boring fast. A good aurora photo is, in reality, a good landscape photo that the aurora happens to put a roof on.
Look for a foreground with weight: a cabin, a rock, a tree, a mountain silhouette. It gives scale and anchors the eye.
Hunt for reflections: a calm lake or fjord doubles your aurora. Pure gold.
Apply the rule of thirds, placing the horizon low if the sky is in charge, or high if the reflection is the star of the shot.
Put a person looking up in the frame: the human element tells a story that an empty sky doesn’t.
How to forecast the aurora
Three fronts to watch, in order of importance:
Clear sky. Without this, nothing else matters. Check the hour-by-hour cloud forecast and be ready to move.
Geomagnetic activity (the Kp index). It runs from 0 to 9. In northern Norway, a Kp of 2–3 can already put on a show; from Kp 5 up, things get serious. There are dedicated apps that alert you in real time.
Darkness. Get away from towns’ light pollution. Ten minutes driving toward the outskirts changes the photo completely.
Patience is part of the kit. The aurora appears and disappears, building in intensity without warning. The best nights reward whoever can stand the cold for one more hour.
Post-processing, in brief
The RAW file comes out flat on purpose; that’s where you build it up:
- Adjust white balance until the green looks natural, not radioactive.
- Lift shadows carefully to bring out the foreground without blowing out the sky.
- Reduce noise gently: overdo it and you kill the detail in the stars.
- Resist the urge to max out saturation. A believable aurora moves people more than a neon one.
Mistakes that cost you the night
- Arriving without having locked focus in daylight.
- Leaving stabilization on while on a tripod.
- Running out of battery because you didn’t protect them from the cold.
- Shooting long exposures on a moving aurora.
- Planting yourself in one spot instead of chasing the gap between clouds.
In summary
Norway, a good solar window, a fast wide-angle lens, a solid tripod, and the discipline to meter every exposure. The rest is patience, layers of clothing, and the will to stay outside when everyone else has already gone to bed.
At Zero Expeditions we don’t organize tourism: we organize expeditions with a purpose. If what you want is to chase auroras with someone who’s spent more than fifteen years reading the Arctic sky — small groups, no rush, and your spot reserved just for you — write to us at info@zeroexpeditions.com.